Difference between revisions of "Valley 1:Getting Started Guide"
| Line 69: | Line 69: | ||
==Mining gems and making spells...== | ==Mining gems and making spells...== | ||
| − | In this room, head to the left, when you get to the ledge, make sure you drop straight down, if you jump and fall to the left you will fall right into a pool that can be hard to escape from. Deploy some platforms over the water again, and continue to the left, over the land formation, and down to the bottom left corner of the room. Here is the bench where | + | In this room, head to the left, when you get to the ledge, make sure you drop straight down, if you jump and fall to the left you will fall right into a pool that can be hard to escape from. Deploy some platforms over the water again, and continue to the left, over the land formation, and down to the bottom left corner of the room. Here is the bench where you will find a new spell. |
| − | |||
| − | |||
| − | |||
| − | |||
| − | |||
| − | |||
| − | |||
| − | |||
Now that you've got all the available spells, use platforms again and head up from the bench. At the top of the room, there is a raw gem that can be used for crafting new spells later. Once you reach it, the easiest way to harvest it is to use the “Fire Touch” spell that you first learned on it. Once you have the gem, you can leave the cave the way you came, or feel free, if you wish, to explore the rest of the cave system. There are a number of raw gems and other things to find throughout, even a miniboss or two. | Now that you've got all the available spells, use platforms again and head up from the bench. At the top of the room, there is a raw gem that can be used for crafting new spells later. Once you reach it, the easiest way to harvest it is to use the “Fire Touch” spell that you first learned on it. Once you have the gem, you can leave the cave the way you came, or feel free, if you wish, to explore the rest of the cave system. There are a number of raw gems and other things to find throughout, even a miniboss or two. | ||
Latest revision as of 16:35, 12 July 2012
This is Environ, a world that's been shattered by an unknown cataclysm. We've tried the make the game as self-explanatory as possible, but there's a lot here.
When the game loads, the first thing to do is update to the latest beta if there are any updates available. There almost always are! This is a pretty quick process, and it gets you the absolute latest and greatest version of the game.
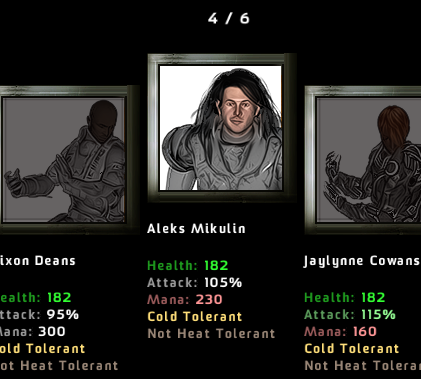
Once you've got the game up to date, Click 'Play' to get started, choose a name for your world, then press OK. Now it's time to pick your character. Each character has a list of randomly chosen stats below them. The meaning of each isn't crucial at this point, but it's good to know that green stats are good, red ones are below average, and white are average.
Once you pick your character, you'll start the game in an ice age tundra. You will see your “Action Bar” in the bottom left corner of your screen (it's empty right now, but that will change soon). In the top left corner is the mini map of the current “chunk” that you are in. On the minimap are dots, the colors of which have specific meanings. A blinking red dot would be a boss enemy, an orange dot represents loot of some sort, etc. You will learn the other colors as you progress in the game.
Finally, in the bottom right is the Dungeon Map. At the moment, this is showing you all of the surface chunks in the region. When you are in a cave or a building, it will show you the relationships between the chunks (rooms or caverns) in those areas as well.
Move to the right to get started, using the jump key (Default spacebar) to get over any small obstacles in the terrain. As you do, you will see a coffer with a Fire Touch spellgem in it. Grabbing this spellgem will allow you to case the Fire Touch spell, which is a close range spell that doesn't do a lot of damage, but costs very little mana.
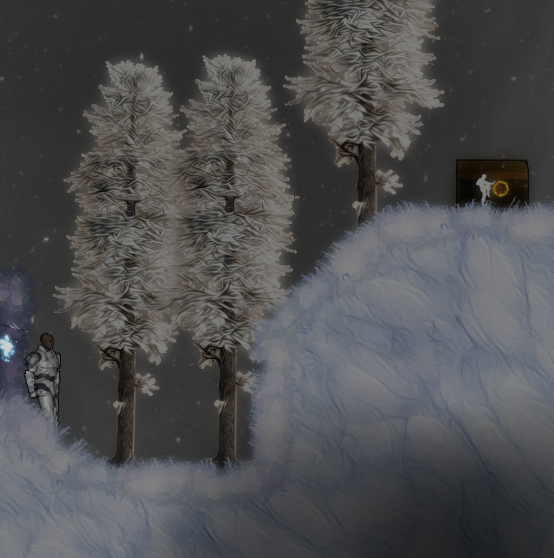
Keep walking to the right, past the screen to continue to the next area. You may have noticed that there was more loot in the first room up high. You can't get this now, but, later when you get wood platforms, feel free to come back and grab it if you wish, though doing so is not required.
In the second chunk you will find a tombstone; there are several of them throughout the intro mission, and they will offer clues and hints to get you through this part of the game and beyond. It's a good idea to read them! If the first one isn't clear enough, use the Fire Touch spell on the crates to destroy them and thus proceed beyond.
The next coffer has the wood platforms, which you will need to get past the next area.
This might be a good time to talk about your action bar. As you have probably figured out, the fist action in your action bar is triggered by the left mouse button. Additionally, the second slot in your bar is triggered by the right mouse button. The third slot by the middle mouse button. If you have additional mouse buttons, this pattern will continue.
You can also trigger any action in your bar by right clicking on the slot in your action bar, or by pressing the corresponding number on your keyboard. All of your spells and items that are not in your action bar are stored in your inventory, which you can access by pressing “i”. At any time, you can click and drag the items and spells in your inventory around to where ever you want them.
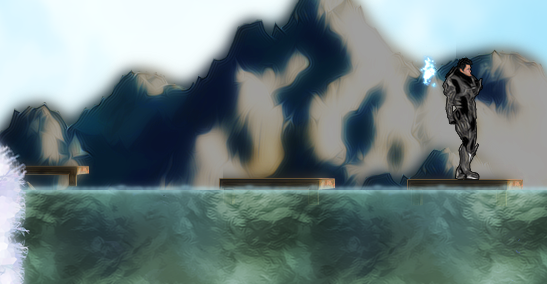
The next chunk features a pool of water. Be careful! The water may look harmless, but, the cataclysm has actually made it dangerous, and staying in the water will eventually kill you. In order to get past, you will need to deploy your wood platforms over the water, and then jump on them to get past. Don't worry, they float even with you on them.
Our first building
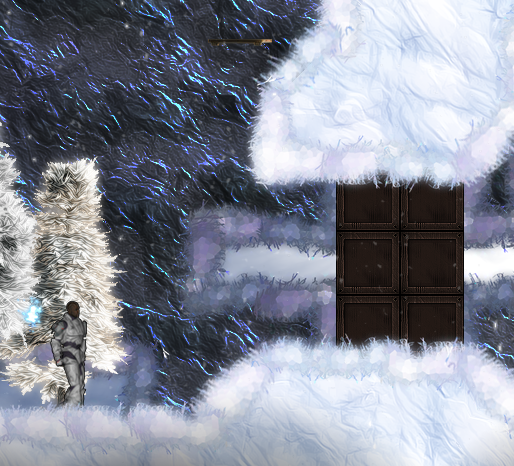
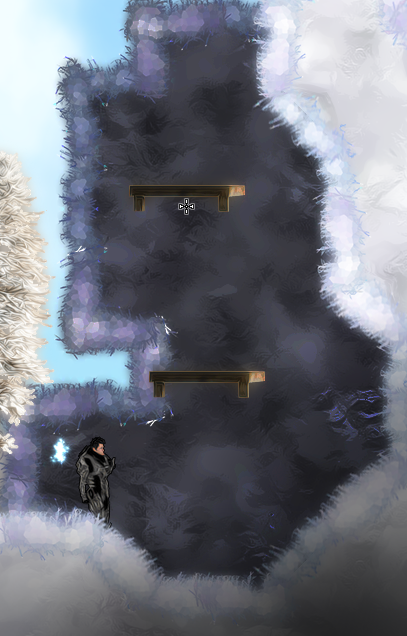
The next area starts with a sheer cliff: again, deploying platforms is the way to get past. In order for platforms to stay, they cannot be deployed in mid-air. Deploy them on the background rock, as show in the image below.
On the other side of this cliff rests a building. You aren't required to go into all buildings, in fact, you shouldn't, as there are an infinite number of them in the game. There are a few from time to time that you need to go into, though. They can be a good source of supplies to help get you further along in the game. This particular building does have a spellgem that you will need to advance, so, lets go get it!
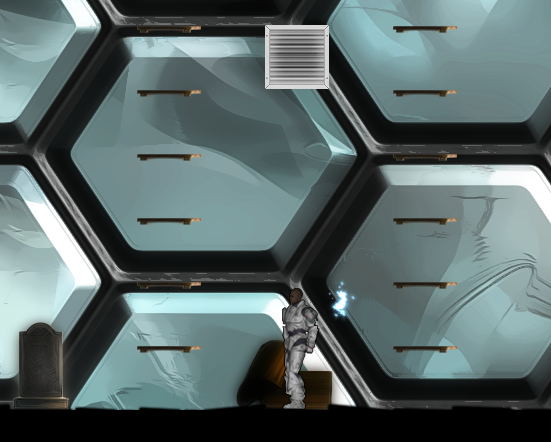
Press the action button 'e' while standing by the building's door to go inside (you will see a note telling you that as well). Once inside, you will see another coffer, open it and you will receive your first enchant. Follow the in-game instructions for equipping it then head down the ladders you see to your left.
Once down there, look for the vent between the two ladders. Jump up to that vent and press the action button again. You can place a wood platform under the vent if you have trouble pressing the action button while jumping. This will take you through the vent to a new room. This new room is small and simple, but contains a powerful spellgem, called Ball Lightning. Ball Lightning is now your first ranged offensive spell, and it can do a lot of damage, which we'll see in action shortly.
Now head back through the vent to the other room you were in, jump back up the ladders, and head through the second white door from the left. This will lead you to a room with a platform near the top with two doors, take the left door. This is a “stash” room, as indicated on the dungeon map with the color yellow. Stash rooms have all kinds of stuff that will be helpful as you venture out.
This room has a coffer that contains a Storm Dash spellgem. This is a spell that will allow you move quickly over terrain, but it drains mana fairly quickly while it's on. There are also some Upgrade Stones in this room. Upgrade Stones allow you to upgrade your characters stats. Simply right click on the stones in your ability bar to bring up the upgrade screen.
That is all the vital stuff that we need, so you can choose to leave the building at this point if you wish. Or, you can explore the rest of the building, and see what else there is to find in there.
Back outside aka Our first enemy!
Now that you are back outside of the building, move on to the next area. As you can tell from the tombstones, the red slime up ahead can be pretty dangerous. But don't worry, you have the tools to take him out.
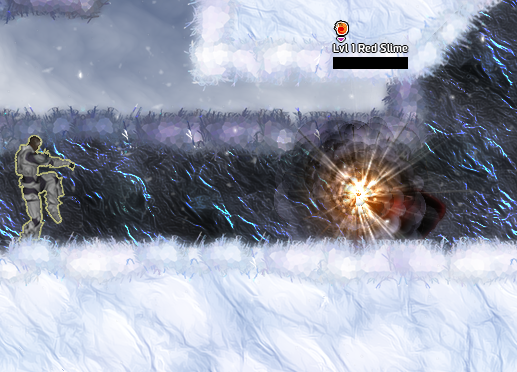
As soon as you get on the same level as the slime, which looks like a big, red blob, fire your Ball Lightning at it a few times. Don't get too close, because if you do, it will attack you. Once it's dispatched, move through to the next area.
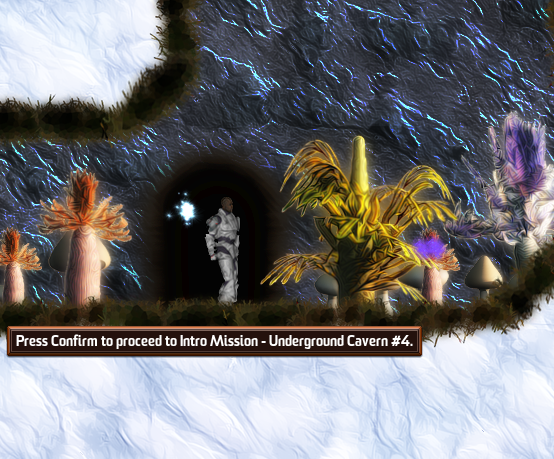
This next area is the beginning of a cave. There's quite a bit in these “surface tunnels,” but for now, head towards the bottom left and go in the door you see in the wall. This will take us deeper into the cave, towards some raw gems that we can potentially use to craft more gems later. But, more importantly, this will take us toward a spellgem that we will need in order to get to our first settlement.
In the next cavern, jump over to the ledge on the right hand side of the wall, then down to the door just to your left. You do take falling damage, though this fall is short enough that if you miss the ledge, you won't take much. Try to avoid the Icicle Leapers you see, but you can take them out with your ball lightning if you wish. You don't need to kill minor monsters in this game, but doing so means they won't be hitting you.
Once again, drop down and head to the right. Near the end of the room is the next door to go through. Be careful at this part, there may be a skelebot sniper who will shoot back.
Mining gems and making spells...
In this room, head to the left, when you get to the ledge, make sure you drop straight down, if you jump and fall to the left you will fall right into a pool that can be hard to escape from. Deploy some platforms over the water again, and continue to the left, over the land formation, and down to the bottom left corner of the room. Here is the bench where you will find a new spell.
Now that you've got all the available spells, use platforms again and head up from the bench. At the top of the room, there is a raw gem that can be used for crafting new spells later. Once you reach it, the easiest way to harvest it is to use the “Fire Touch” spell that you first learned on it. Once you have the gem, you can leave the cave the way you came, or feel free, if you wish, to explore the rest of the cave system. There are a number of raw gems and other things to find throughout, even a miniboss or two.
On your way back out, in the first room of the cave system, after you go out the first door, at the top of the room is an Ilari crystal. Many of the Ilari that you will encounter are friendly towards you. This particular one is not, but, he's friendly enough that if you stand in front of him, he'll heal you.
Finally, head toward the bottom right of the room. There you will see one more slime. Before we move on, press “p”. This will pause the game. While the game is paused, hover your mouse over the slime. From this we can see that this particular slime is resistant to fire and air. This means that you should use some other type of spell against him. Some good spell choices in this instance might be Energy Pulse (a light spell) or Tidal Pulse (a water spell). Take out the slime with one of these and it will go down quick.
Pausing and hovering your mouse in this manner to discover if an enemy has any weaknesses works for all enemies. It is highly recommended that you do this with any bosses or minibosses that you encounter, as each will have a random set of resistances and weaknesses.
With the final slime dead, you enter the last portion of the intro mission. After that you will move on to the full game... only there's a giant skelebot miniboss standing in your way! There's an easier path through this room that lets you avoid this boss, but that won't always be the case. Bosses tend to guard rewards -- in this case your passage to the first settlement -- and usually there isn't a way around. Given that this is just the tutorial, though, you have the option of fighting him to get some practice with a basic boss, or running around him to get the settlement more safely.
